Baloo came to live with me 10 years ago today and went over the Rainbow Bridge a year ago tomorrow. I have so many wonderful memories of this sweet boy and I’m still missing him every single day.
So, since I can’t give him a treat today, I want to share one with you in honor of the best dog ever. Today and tomorrow, all Tan-Z Kut is on sale for 10% off.
While doing a test packaging and postage estimate for a customer last night, I discovered that the post office has pulled the proverbial rug out from under us and discontinued the regional priority flat rate shipping option. This means that the wonderful regional rates that I have been able to pass along to customers in the form of postage refunds will be no more. Yep. Well, poo!
Flat Rate Mailers
The shipping cost listed on Stampeaz.com is not the full retail priority mail price, as I get a small commercial discount which I pass along. I will still do my best to optimize shipping costs by packing as economically as I can – this is especially relevant to orders of multiple large pieces, since the postage calculator doesn’t know how to take my awesome packing skills into account and can overestimate the type and number of boxes or envelopes required.
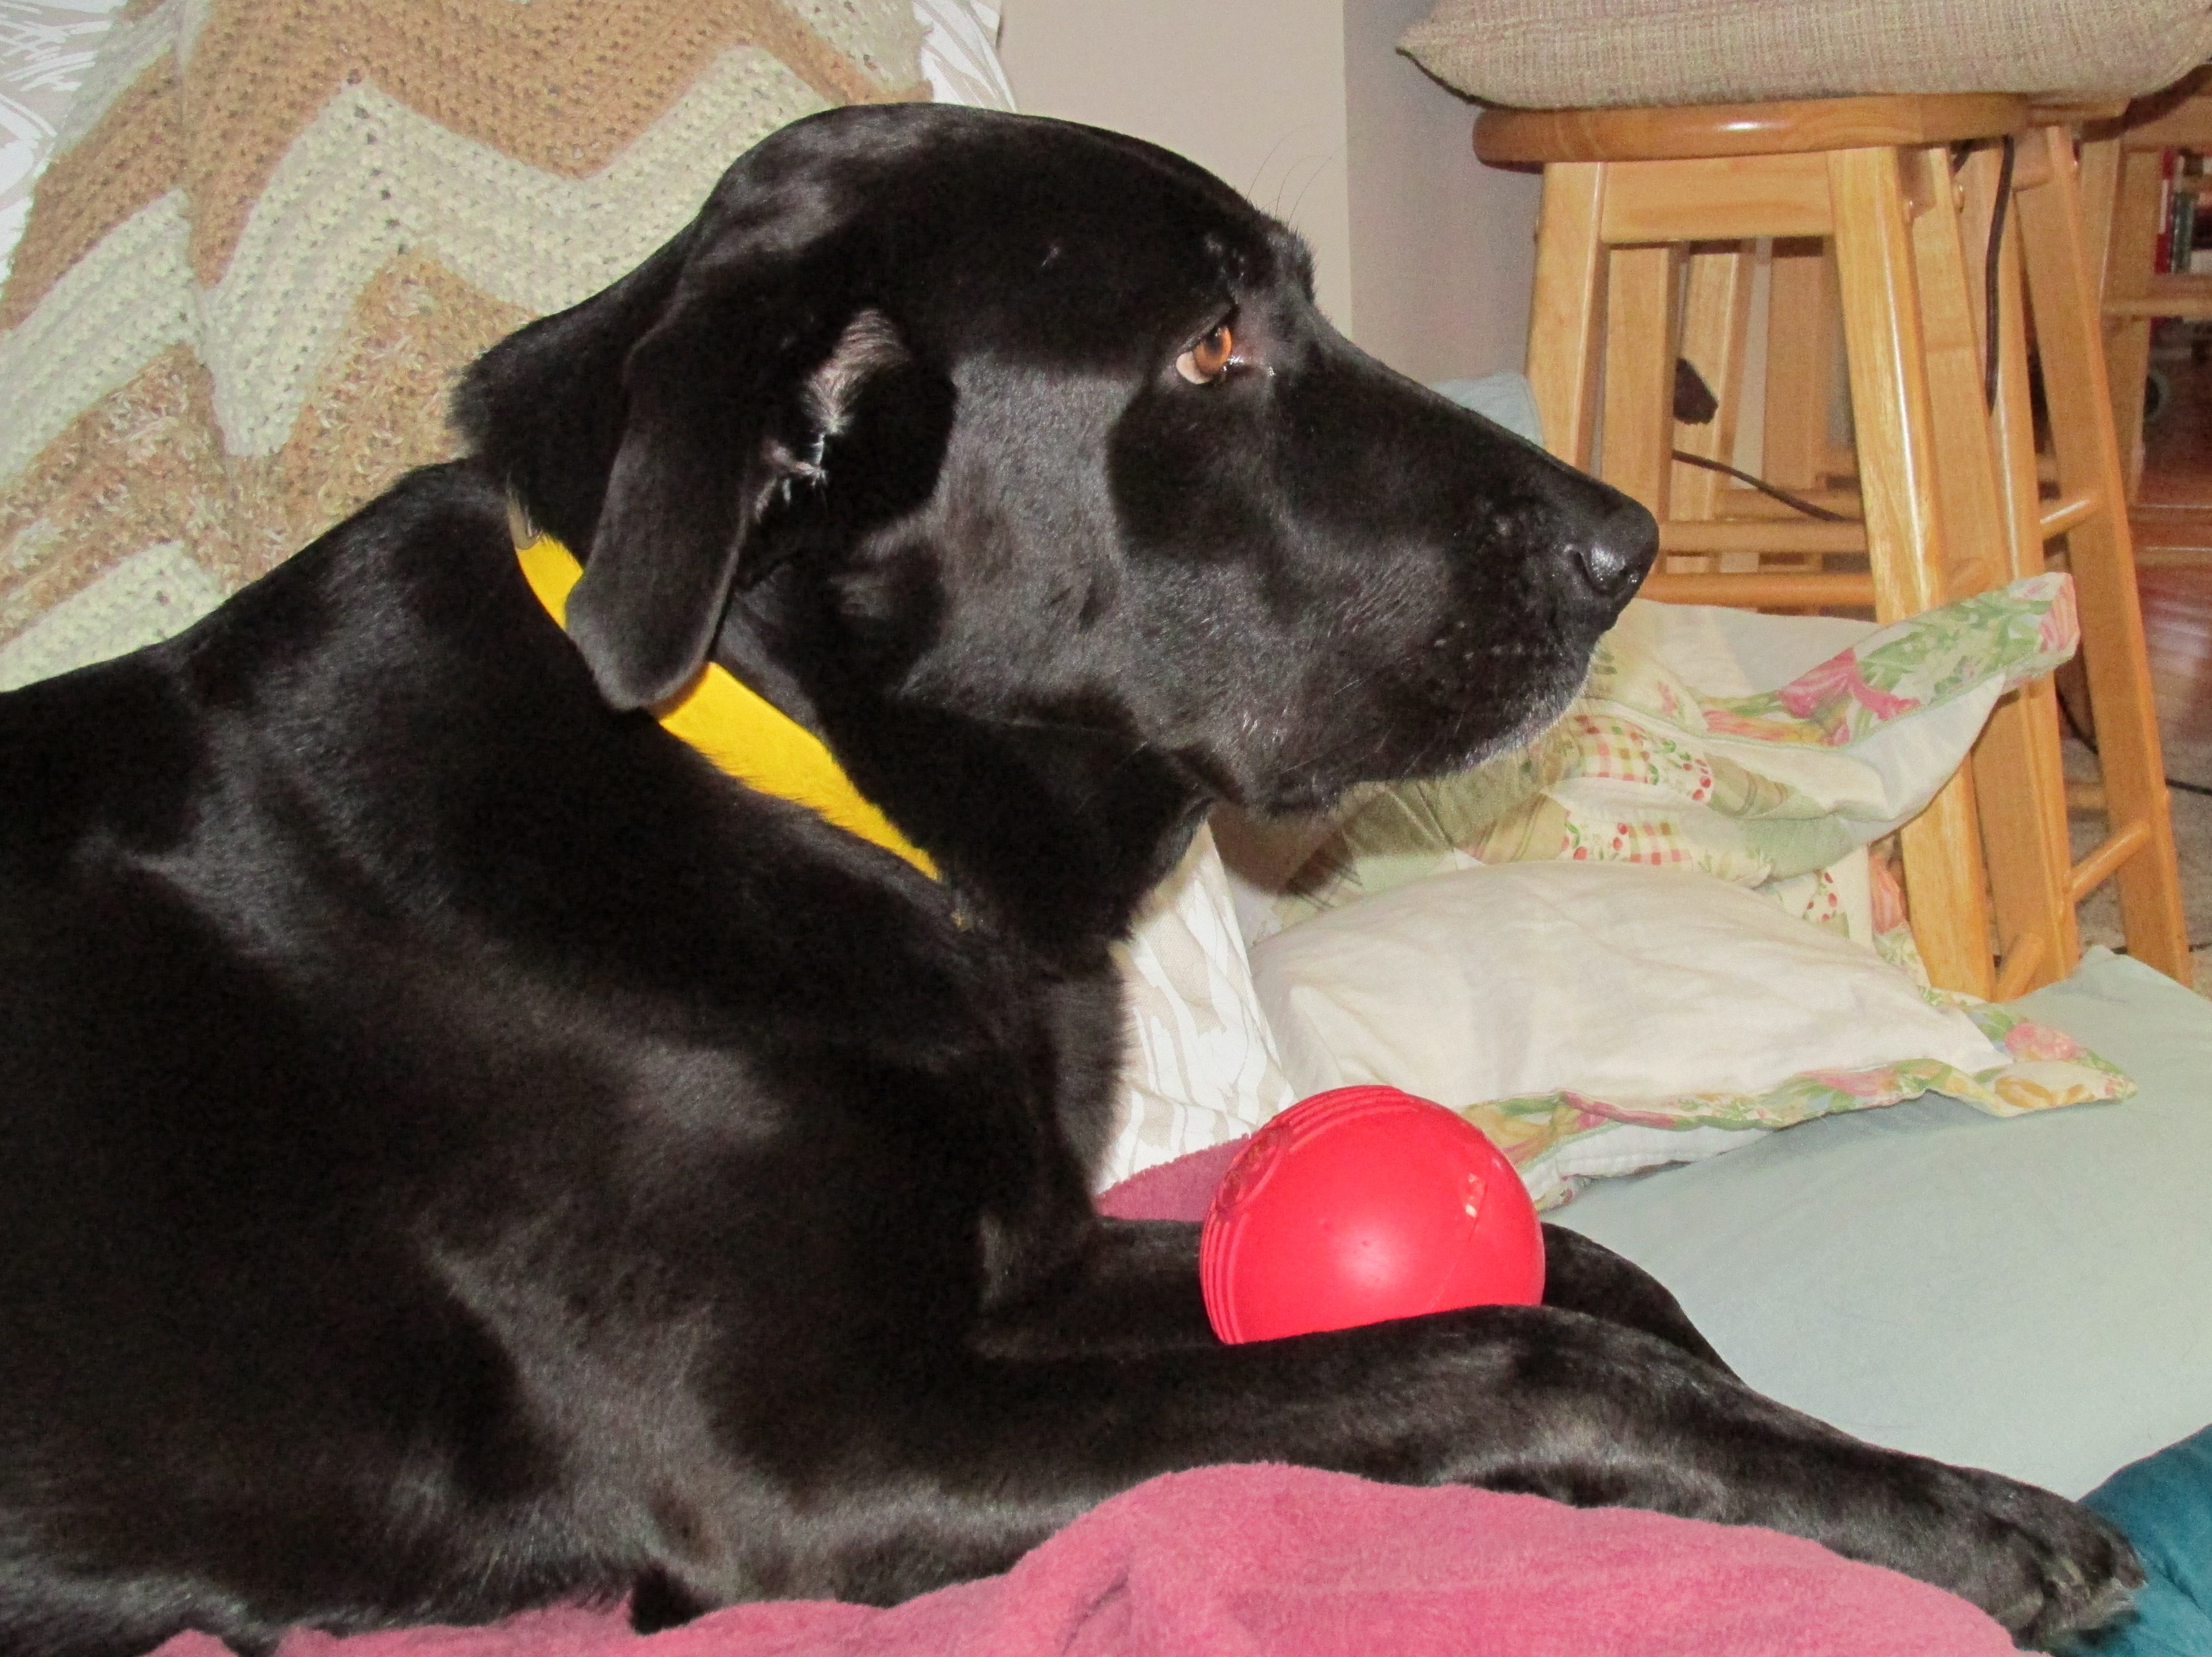
Also, as you can see in the photo above, I still have some bits and bobs to share as I wrap and label orders, so be sure to let me know if you’d like me to include some in your package. There are little pieces of PZ Kut, OZ Kut, Tan-Z Kut, Firm Kut and some experimental pieces from ages ago that didn’t make it to an actual production run. 🙂
A number of people asked about sanding images they had already carved in order to get better ink coverage. There are a couple of approaches that can be taken to improve how the block takes ink if it didn’t get sanded before carving.
The simplest method is to take a solvent based permanent ink like StazOn and cover the surface of the carving material with it and leave it to dry completely.
Sanding a Carved Block
If the simple inking option doesn’t do the trick and there is still an inking problem, try taking a very fine sandpaper (the sheet above is 600 grit) and putting it grit side up on a very flat surface.
Sanding a Carved Image
Then, keeping the block flat against the sanding surface, gently run the face of the carving around the sandpaper a few times. Make sure the surface is flat and check often to make sure it’s coming off evenly. Remember, not much needs to be removed – just the barest bit off the top to remove the extrusion residue. Also, be careful not to press too hard in any single spot, since the block is flexible and it’s possible to end up with uneven bits where fingers pressed the block into the sandpaper.
Some carvers also use the little manicure blocks that have grit on them. And, if the carving is particularly intricate and likely to wear away rapidly, holding a small piece of sandpaper in your fingers and very, very gently touching up the block’s surface can also work. Be particularly careful with this approach, as it’s easy to accidentally take an edge down too far, but if ink isn’t adhering to the block well enough to get a good print, it’s probably worth the risk.
I hope this helps a little – and feel free to ask questions! After all, that will help me know what might be useful to talk about here on this blog.
Also, it’s the anniversary of the day I began running Stampeaz many long years ago. So, I’m celebrating with 10% off Tan-Z Kut today. If you place an order, don’t forget to ask for some of the bits and bobs I mentioned in a previous blog post – I still have some to share, if you want.
In keeping with my New Year’s resolution, I am trying to be better about posting on the Stampeaz site and I thought it might be helpful to start from the beginning and show you how I go about preparing a block for carving. There are a number of ways to do this, but my personal favorite is a light sanding. Sanding will take any film from the manufacturing process off the surface of the block, allowing the material to take both image transfers and inks more readily.
Unsanded Firm Kut
As you can see in the block of Firm Kut above, light reflects off the shiny surface. Right off the extrusion machine, carving materials tend to be a moisture resistant, since heat is used in forming the blocks and it creates a film on the surface. Some people like to rub this off with acetone to remove it, but acetone gives me a headache and makes the block sticky for a while. So, here’s my process.
Sanding a Firm Kut Block
I use several different grits of sandpaper, generally starting with something around 220 and moving up to 320 and finishing with 400 or 600, sanding in all four directions – up and down, side to side and both diagonals. It doesn’t take much, so don’t overdo it. A light sanding with each grit will do the trick. You’re only removing the sheen and making sure not to leave any sanding streaks.
Final Sanding
Between each sanding grit, I hold the block up to the light to make sure I haven’t missed a spot – in other words, there aren’t any shiny spots left – and that the surface looks even and smooth.
Comparison – Sanded vs Unsanded
Here you can see the difference between the shiny, unsanded block on top and the sanded block below. The light no longer reflects off the sanded block and ink will stay right where it’s put. Sanding will also improve image transfer quality, since toner doesn’t stick quite as well to the shiny surface.
This process only takes a couple minutes (and a very small amount of sandpaper, which can be used many times before the grit starts to wear off) and is well worth the effort. I hope this short tutorial is useful and will take the mystery out of block preparation. I find that surface sanding improves every carving material I’ve ever worked with – even linoleum.